Welcome Friends, thanks so much for stopping in for my first Project Life blog hop with some of my fellow 2014 Creative Team members! Today I am sharing Project Life® 2015, Week 14 and a look at how I use the Letterglow app for my journaling cards. This is the fourth of 12 Blog Hops from the 2014 Becky Higgins Project Life Creative Team. These amazing women are just what I needed to return to sharing my love of Project Life here on the blog. We are all passionate about Project Life & memory keeping and we wanted to continue to inspire each other and you as we move forward in 2015.
At the start of 2015 I really wasn’t sure the direction I would take for my Project Life pages. Right now I am loving the Project Life App. This may or may not be the route I’ll continue to go throughout the year. I’m OK with that. I love that there are options to make it what works for each of us in different seasons of our lives. I love that I can document our story in a variety of ways with this system.
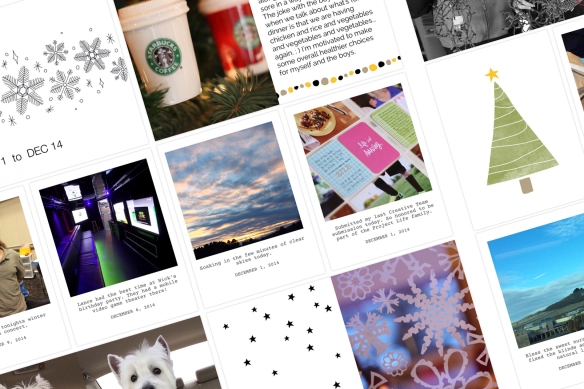
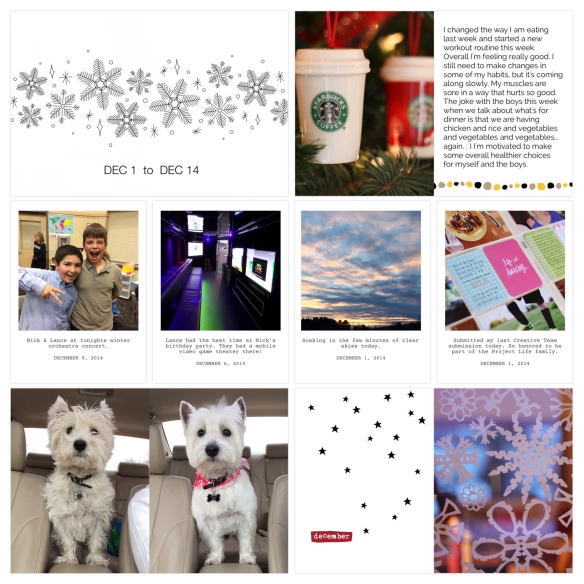
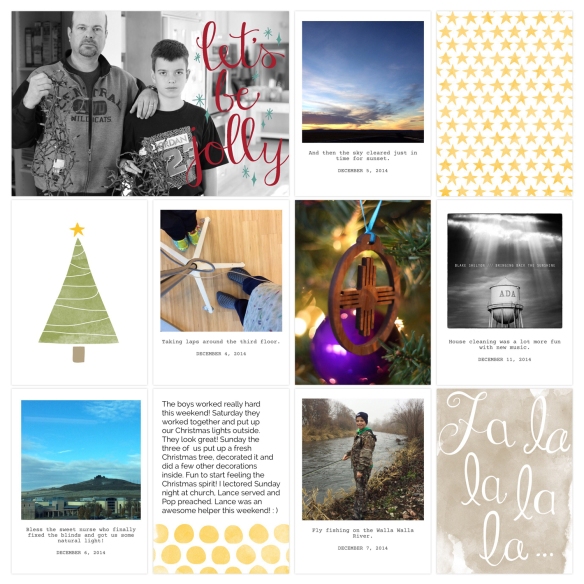
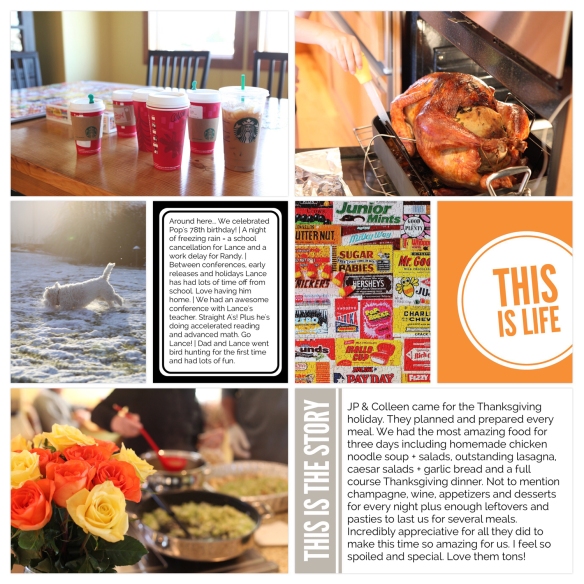
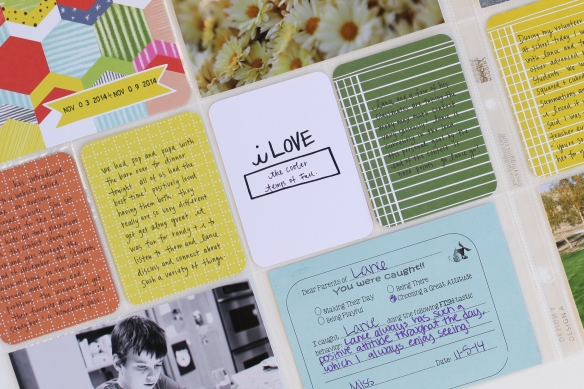
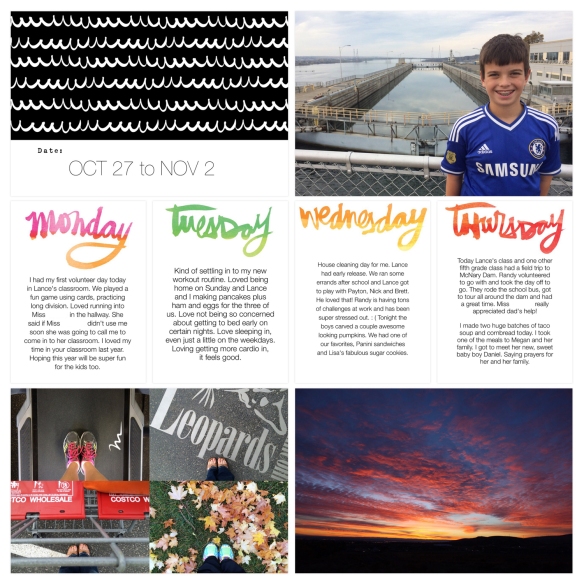
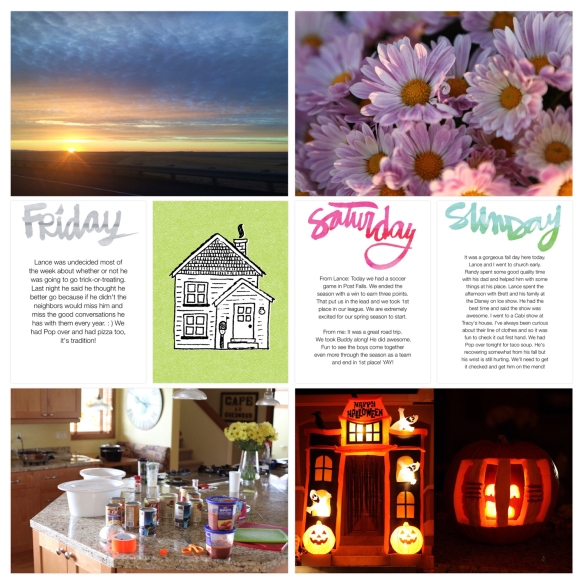
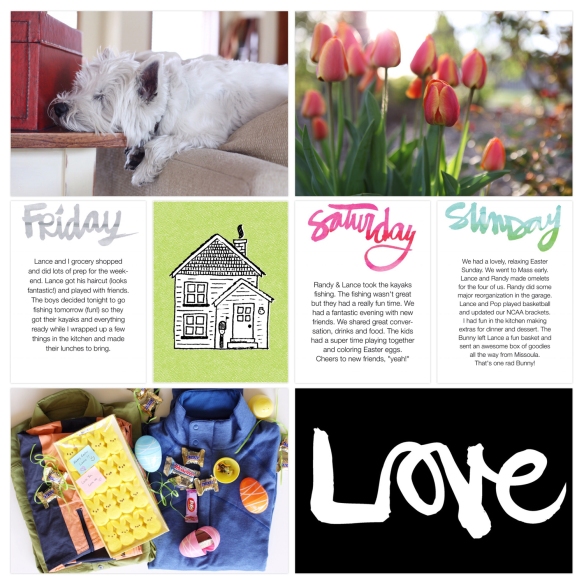
The full 2 page spread of Project Life® 2015, Week 14. You can click on the photograph for a clearer image.

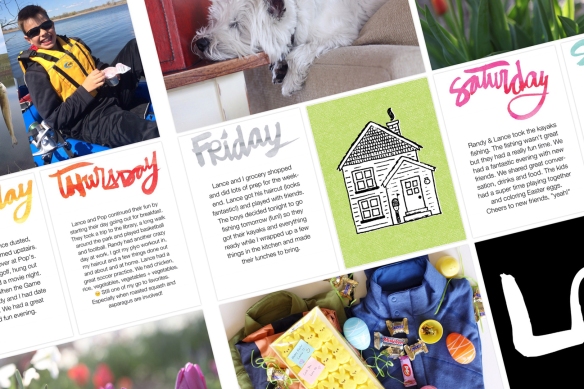
The Project Life app has everything you need to complete your pages. Easy and everything is right there for you in one place. For me, I love the flexibility of using additional kits, cards and elements. Enter Letterglow. And with Letterglow, I love the precision it gives me for the text on my journaling cards. One of the main questions I get asked since I started using Letterglow is how to do it. Here’s a look at the steps I take.

Before I open Letterglow I save the journaling cards I want to use in a separate album within my photos on my phone. You can add them to Dropbox, then save them to your camera roll from there as well. Open Letterglow, choose the photo roll option, open the card you want to use and select USE. Throughout the week I add notes in the Notes section on my phone. Once I’ve opened the card I’m using I go to the Notes, open the corresponding journaling, select and copy. Now, go back to Letterglow, double tap on the square to add your text. Side note: on a white journaling card you won’t see the prompt that says “double tap to edit text” since that text is in white. Your keyboard opens up. Tap the F button and choose your font. I almost always choose Helvetica Neue but there are lots of fun options. Go back up to your cursor, click paste and the green check mark.

Again, the text will show up white so the first thing I’ll do is change the text color to black. The image above shows the other tools I use and what they do. You can click on it to see a larger, clearer image. Letterglow is pretty intuitive, just play around with it a bit. I usually will need to adjust the width of my text depending on the size I’ve chosen for the font and the journaling card I’m using. I tap on the text which opens it back up to the edit screen. Then I’ll do a hard return at each line to adjust the width. Once you have just like you want it, tap the little black triangle at the bottom of the screen, click DONE and then SAVE. Your card will be saved in your camera roll.
As you’re assembling your pages within the Project Life app you’ll be able to access your cards just like you would choose a photo from your camera roll. It sounds like a lot of steps, but I promise it’s easy once you’ve played with it. If you have any questions at all, please ask, I’d be happy to answer. Also, if you’re using it and have tips or ideas, please share!
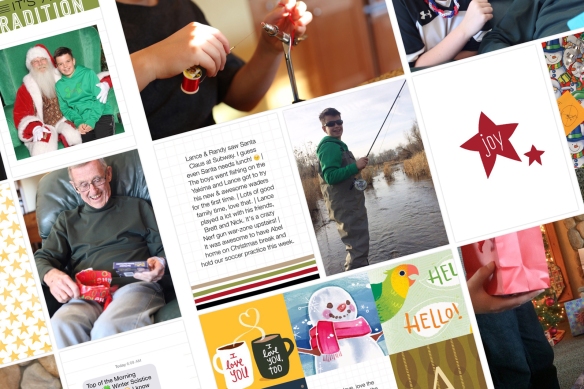
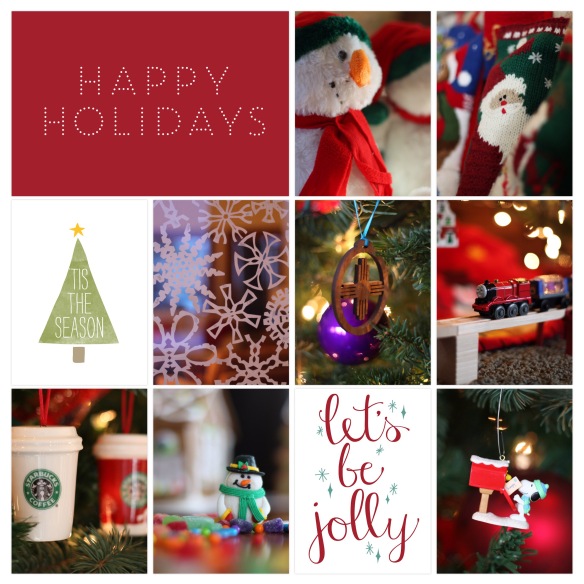
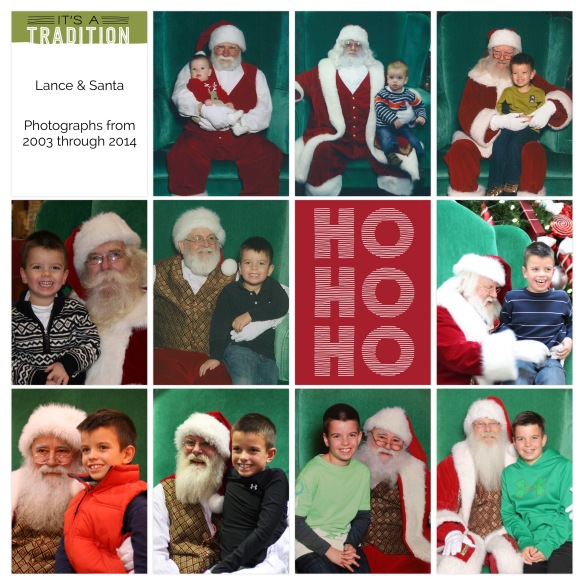
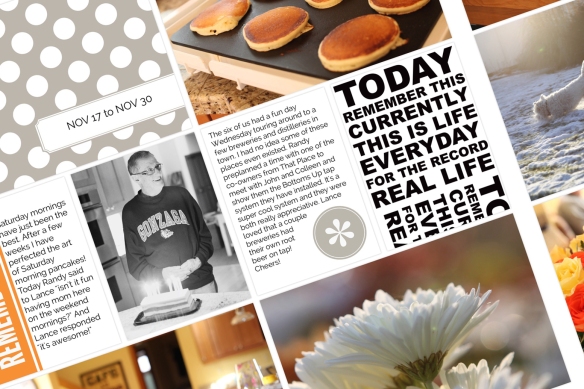
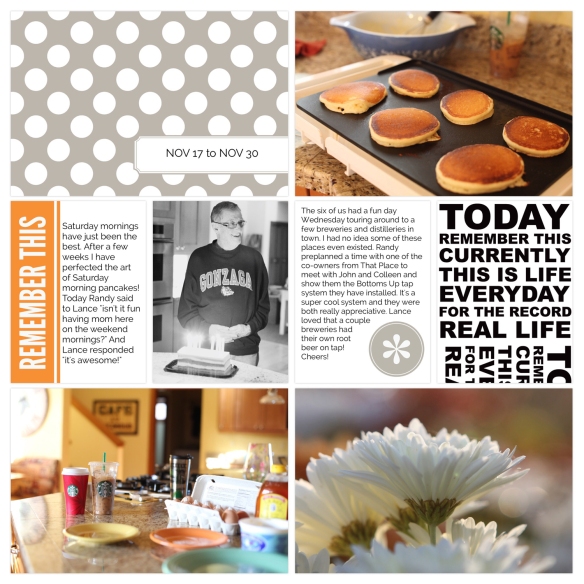
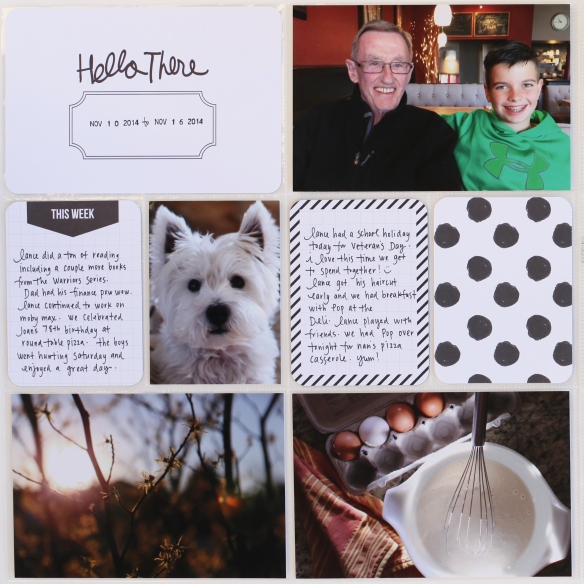
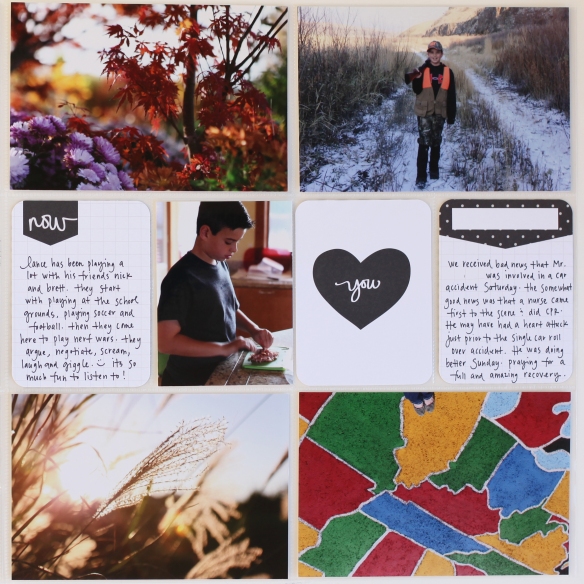
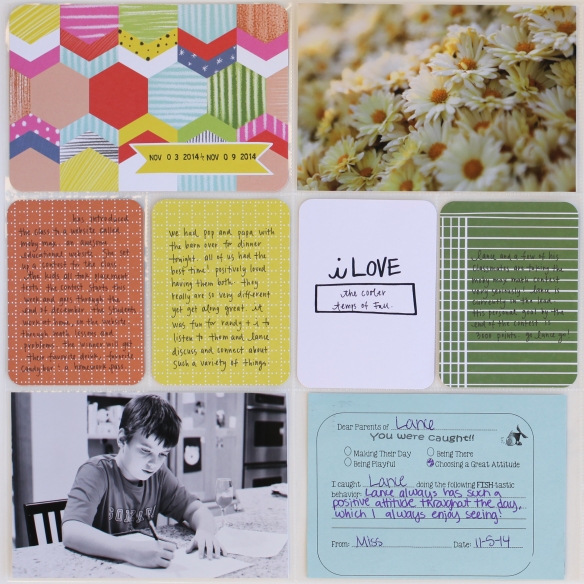
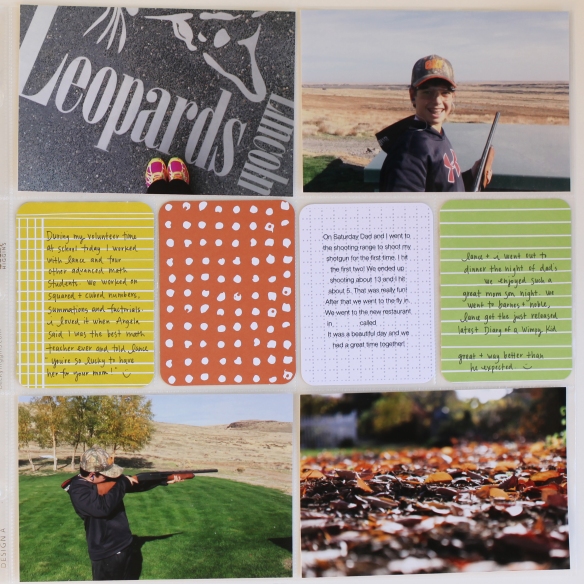
Here are the individual sides of Week 14.

The cards and elements I used this week are from the Plus One Collection. You can find a Project Life retailer here or find the entire line of products here. Project Life was created by Becky Higgins. You can find out all about this awesome approach to memory keeping here.
Check out more Creative Team Inspiration here: Autumn, Donya, Jess, Kris and Tara. These are fun and optional blog hops. If you don’t see your favorite former team member, please visit their individual blogs to see what they are up to. We hope you enjoyed this hop!